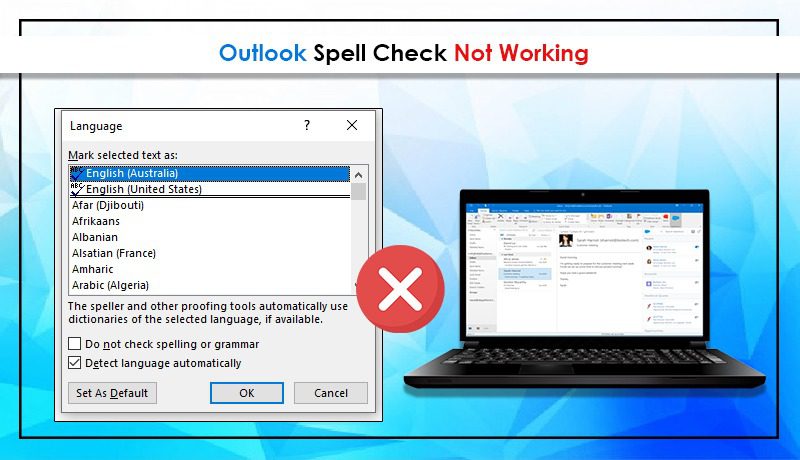
Avoid Outlook Spell Check Not Working error messages, there can be different reasons except for the MS Office upgrade due to which users may not be able to use the spelling feature to check for mistakes.
Apart from this, the reasons behind showing spell check not working error message due to any viruses or malware attacks, the feature of Outlook has been turned off, the language is not compatible with the spell checker, and many more.
Given below are Six methods that will help you to solve the Outlook spell check not working problem.
Method 1: Before sending manually check to spell
With the help of the F7 shortcut key, you can check for spelling or
- You can hit on the Review tab from the menu bar and click on the option Spelling & Grammar
Method 2: Use the Proofreading option
To add a Spelling check for the email containing this option remains unchecked and on Outlook no proofreading is performed. It includes enabling proofreading at the template level for the selected language that is most widely used, i.e. English. Here are some points:
- First, you need to open the Outlook application and then Click on the New Email option.
- After that tap on the Review option that appears on the top and then click on Language>Set Proofing Language option.
- Select the language as English in the Language dialog box and uncheck the option saying Do not check the spelling. Set this setting as default with the option and to save the settings click on OK.
Method 3: Repairing Microsoft Office
For fixing Outlook spell check not working Office 365 to repair MS Office,
- Just you need to go to Control Panel>Programs & Features
- After that, select the Microsoft Office option and then tap on the Change option that appears at the top
- To repair Microsoft Office and install its latest version automatically;
- Go to the next page and choose either Quick Repair or Online Repair option.
Method 4: Restart Outlook
If nothing works, restarting your system could only be the solution. Doing so could solve the pyramids of problems.
Method 5: Set Outlook Auto Check
Make sure that the option on Outlook should be enabled for spell check every time whenever you send an email message.
Method 6: Authorize File Option
If spell checks not working Office 365 continues then follow the given below steps:
- Go to File > Options > Mail > ‘Compose Message‘, tap the checkbox ‘Always check spelling before sending’ -> then press OK.
Conclusion
I hope you find this article helpful and that the solutions mentioned above help you solve the issue of Outlook spell check not working. Users can try one solution and seek help to work swiftly without any errors in Microsoft Outlook email assistance.
Related Resources:
- Outlook not showing images
- Outlook Search Bar Missing
- Outlook Signature Not Working
- Outlook Won’t Open
